
Wanna learn how to animate? I'm an awful teacher sometimes, but I'll try to teach you how to animate the best I can! Today's lesson is how to clean frames extracted from doalatte
 . This skill is a must if you want sprites to have a transparent background and want to animate.
There are two ways to clean frames, one way might be easier for you and another might be better in preserving opacity and cleaning damaged png files.
The first way is by using the Magic Eraser.
Step 1: Open your file. The first thing you want to do open your gif file from doalatte (shortcut is Ctrl + O). Photoshop will automatically take all the frames of the file and make a layer out of them. This is super convenient. If you don't have Photoshop CS5, GIMP 2.0 will do this as well.
Step 2: Delete the copyright on the bottom. Next, you want to use the Rectangular Marquee Tool (shortcut is M) to delete the copyright on the bottom. Highlight the area then delete it by pressing the Backspace button.
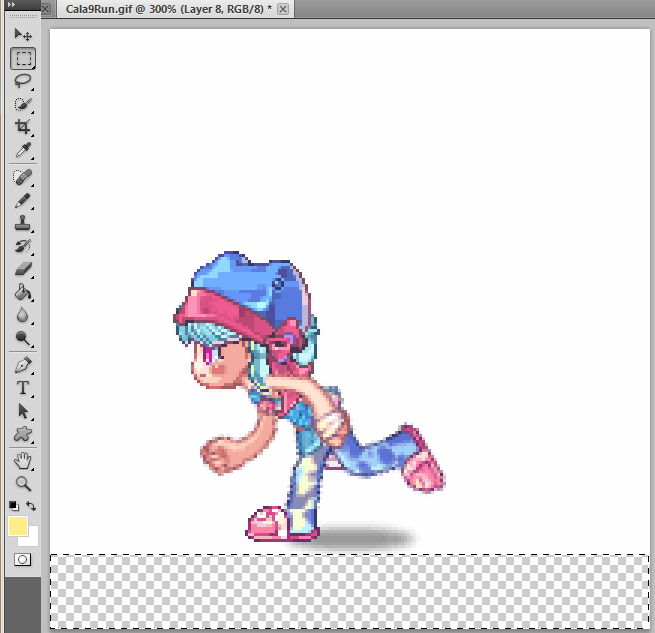
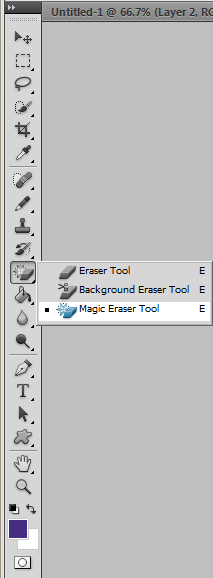 Step 3: Use the Magic Eraser to delete all of the white. On your toolbar, you should notice that there's an Eraser Tool (shortcut is E). Right click it and select the Magic Eraser Tool.
This tool basically will erase a color and colors within a certain range. This is perfect for erasing the white background without technical difficulties.
I've switched to this method earlier in this year and I'm finding that I'm using this tool more often than the second method I'll be teaching.
After erasing all the white from your sprites, you should see the following if you view all of your cleaned frames.
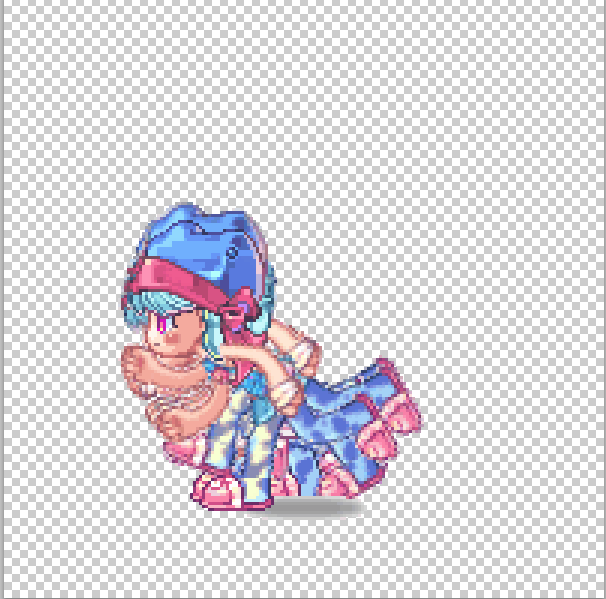
That's all for this method.
The second way is by using Color Range. This is the method that I was using up until early this year. I still use it sometimes for preserving opacities, working around white equipment and skin, and cleaning damaged png files.
Step 1: Open your file. The first thing you want to do open your gif file from doalatte (shortcut is Ctrl + O). Photoshop will automatically take all the frames of the file and make a layer out of them. This is super convenient. If you don't have Photoshop CS5, GIMP 2.0 will do this as well.
Step 2: Delete the copyright on the bottom. Next, you want to use the Rectangular Marquee Tool (shortcut is M) to delete the copyright on the bottom. Highlight the area then delete it by pressing the Backspace button.
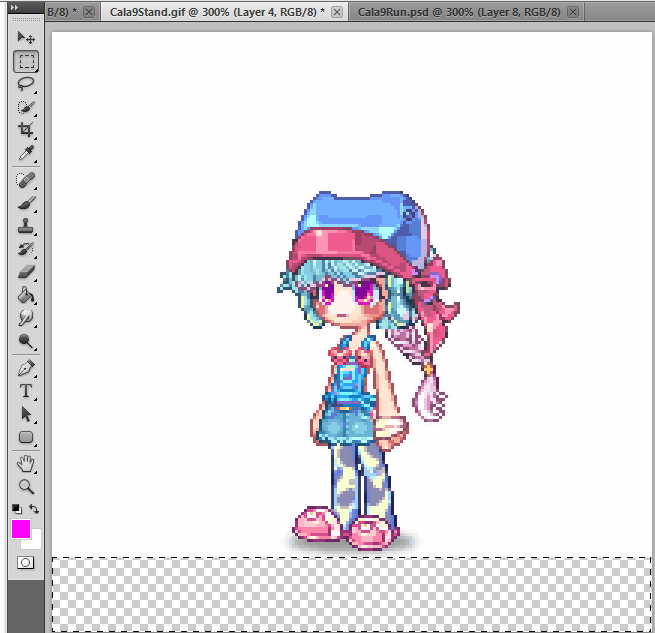
 Step 3: Fill the white areas with an absurd color. With a gaudy color, fill the white areas with the Paint Bucket Tool (shortcut is G)
Now, sometimes you will fill in an area and this will happen.
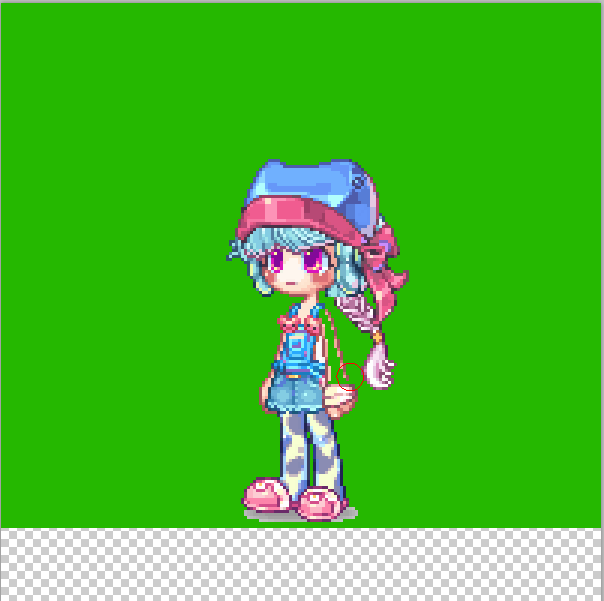
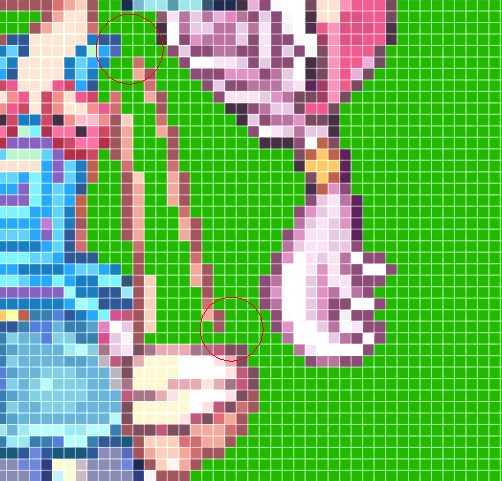
This happens because of two things. The area is either within the tolerance level of color or the color is white as well. You can fix this by fixing your tolerance level at the top.

By the way, always turn off Anti Alias. I have my tolerance pretty high in order to get some clean frames, but high tolerance increases the risk for this to happen. A lower tolerance will prevent from this from happening, but will make motion sprites very ugly.
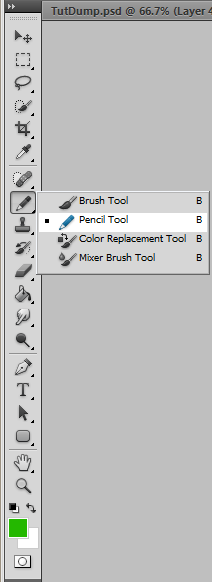 You can use another way. By using the Pencil Tool, usable by right clicking the Brush Tool, you can use the 1 pixel size to protect the areas that are colored in.
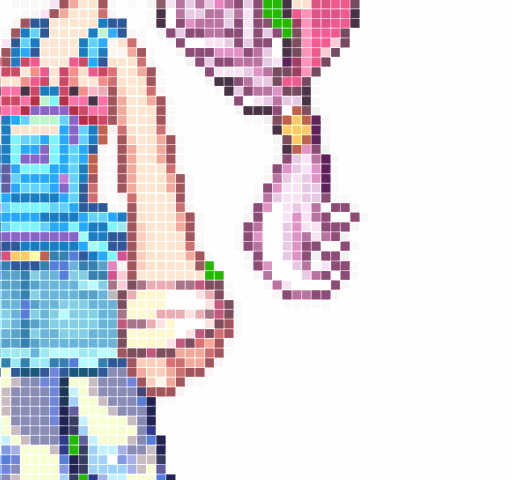
Step 4: Color Range selection. Once your desired area is colored, right click with the Marquee Tool and select Color Range. This will pop up.
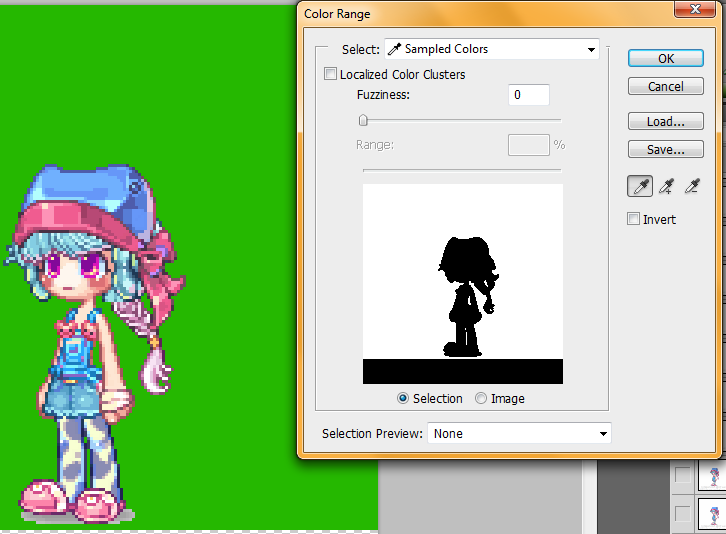
I prefer to see my selection with 0 fuzziness so I can get the exact color I'm using to erase the white. Press OK and all the color will be selected.
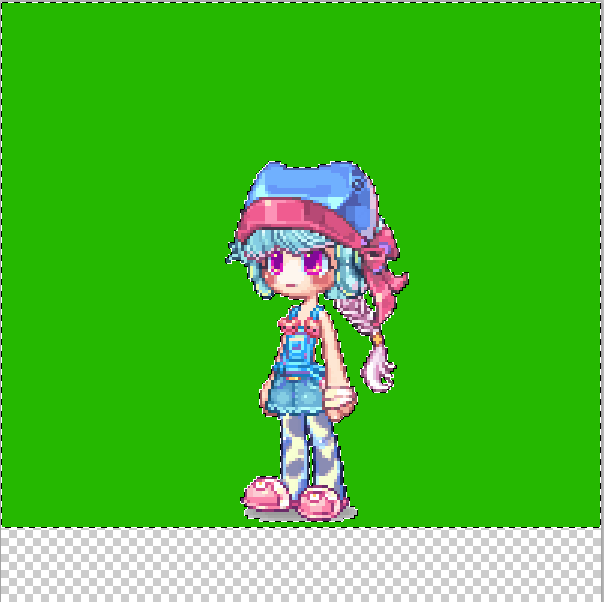
From here you can delete it by pressing Backspace. After selecting all the color and deleting it from all of your frames, you should be left with this when all of your sprites are viewable.
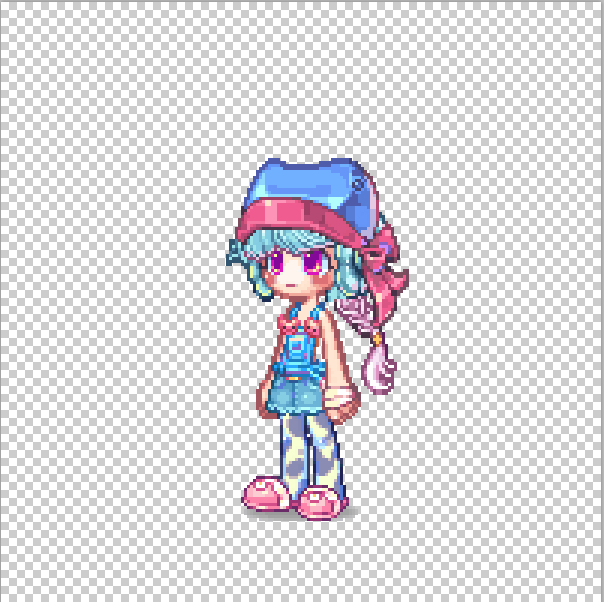
That's all for this method.


1 comment:
your tutorial make animation is good, thank you for tutorial.
Post a Comment